
Photo guides
How do I photograph a fingerprint for jewellery?
Short answer
You don’t need an ink kit. A sharp phone photo of one clean, dry fingertip, taken in daylight with the finger filling the frame, is enough. If the ridges aren’t clear in the photo they can’t be engraved, so we’ll ask for another rather than guess.
What we need
One finger, one photo. A person checks every mark and sends you a proof of exactly what we’ll engrave. Whatever isn’t in the photo won’t be on your piece.
Taking the photo
- Wash and dry the finger. Oil and lotion fill the lines, and the print turns grey.
- Stand near a window, out of direct sun. Light from the side makes the ridges stand out; a flash flattens them.
- Fill the frame with the fingertip, and rest your hands on a table to keep still.
- Tap the screen to focus on the skin, not the background.
- Take three or four, and send the one where you can count the ridges.
A print on paper or a card
Already have a print, from home or from a hospital or funeral director? Photograph it flat and square-on, in daylight. You never need to post us the original.
What doesn’t work
- A blurred photo, or one focused on the nail.
- A print lost in shadow, or bleached by a flash.
- A photo from too far away.
- Several fingers in one photo.
What happens next
Upload it as you make your piece. A person checks it, and if it needs another go, we tell you why before anything is made.
Ready when you are. Nothing is engraved until you’ve seen a proof and said yes.
Start your pieceRings for this mark
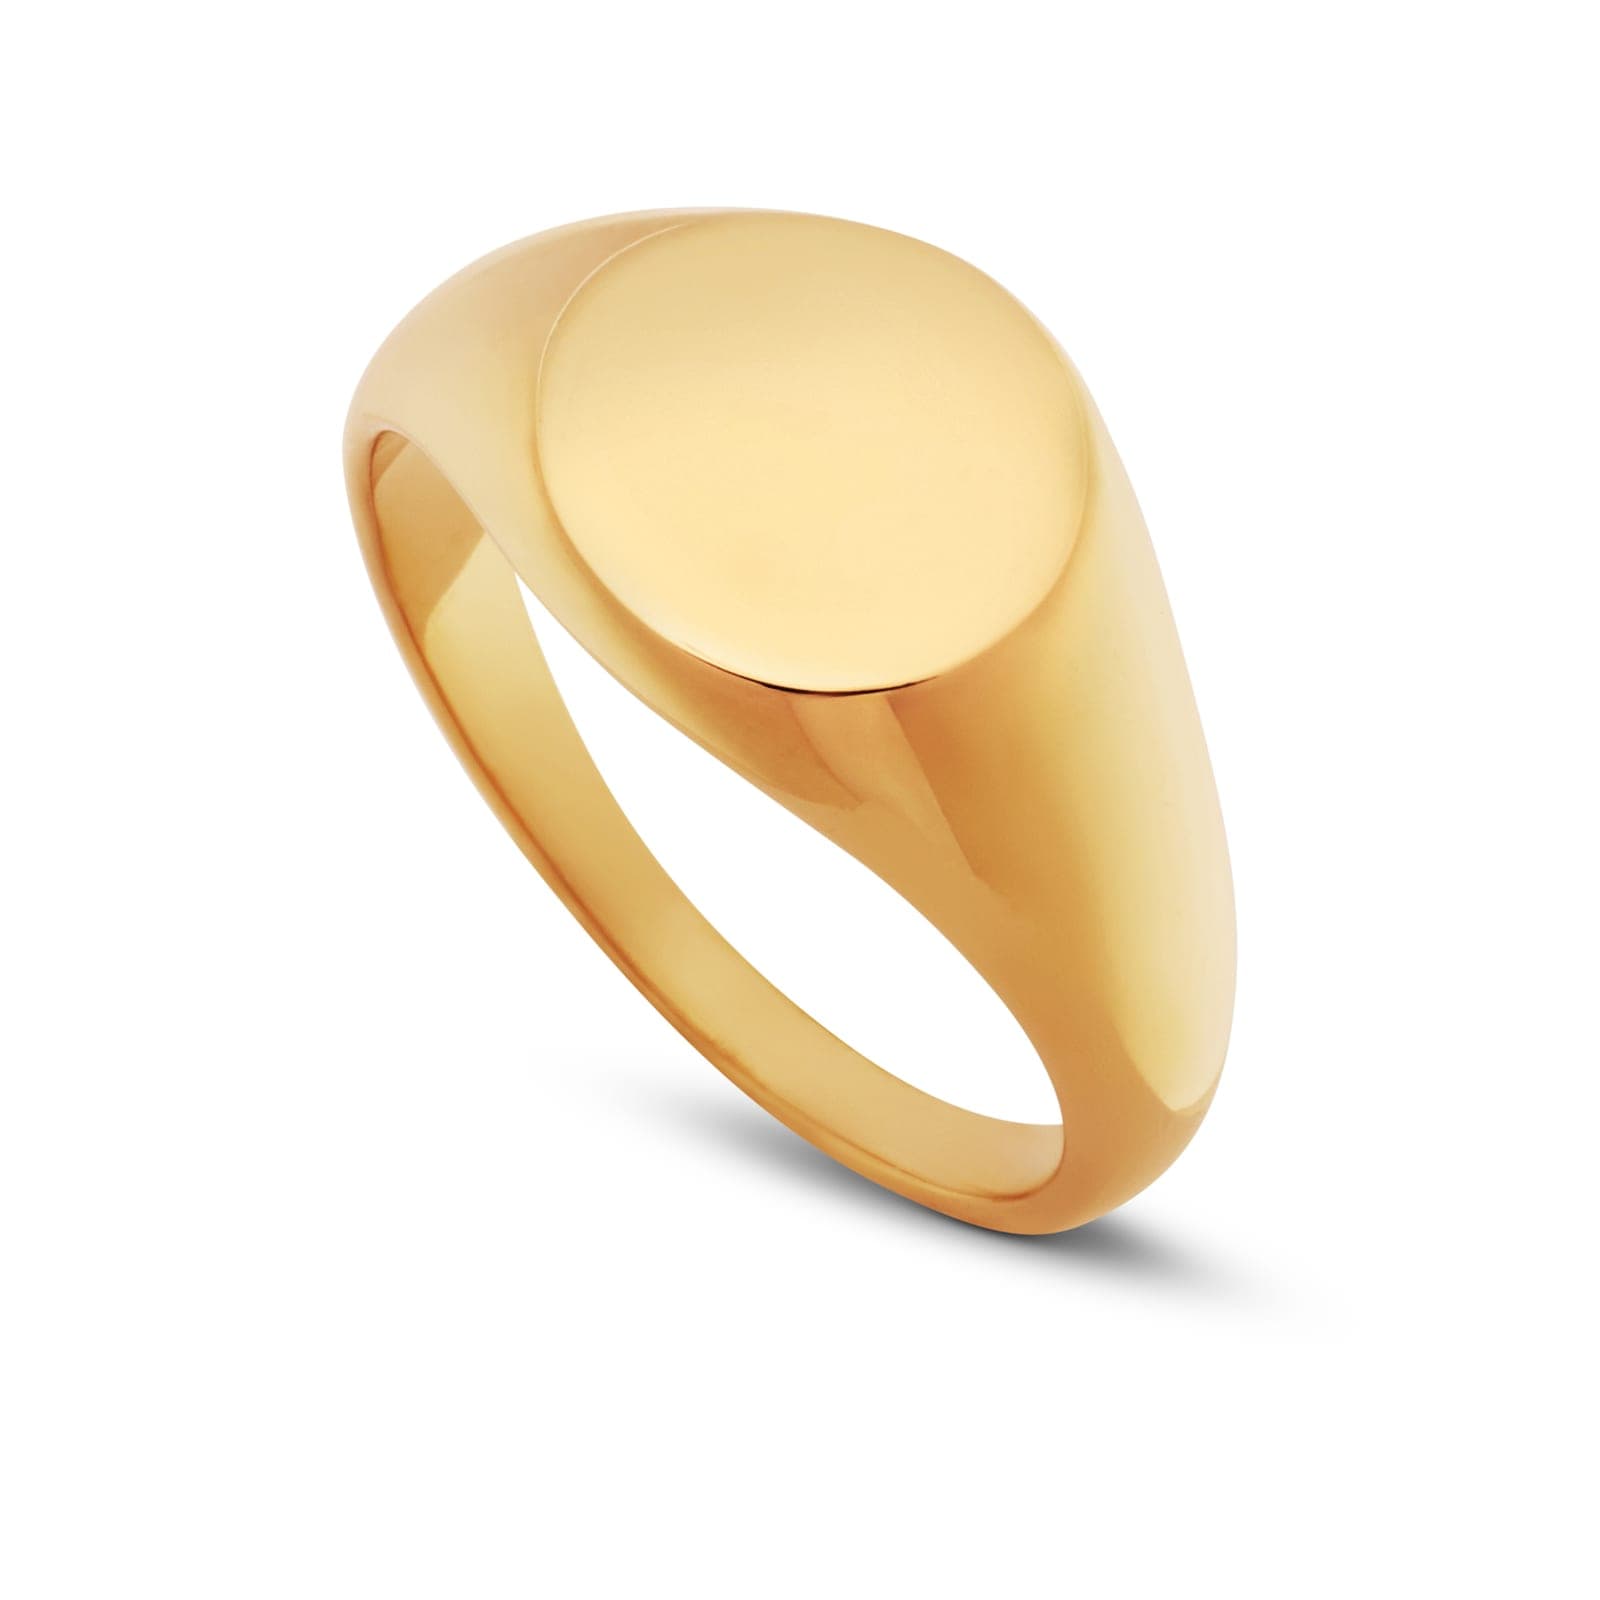
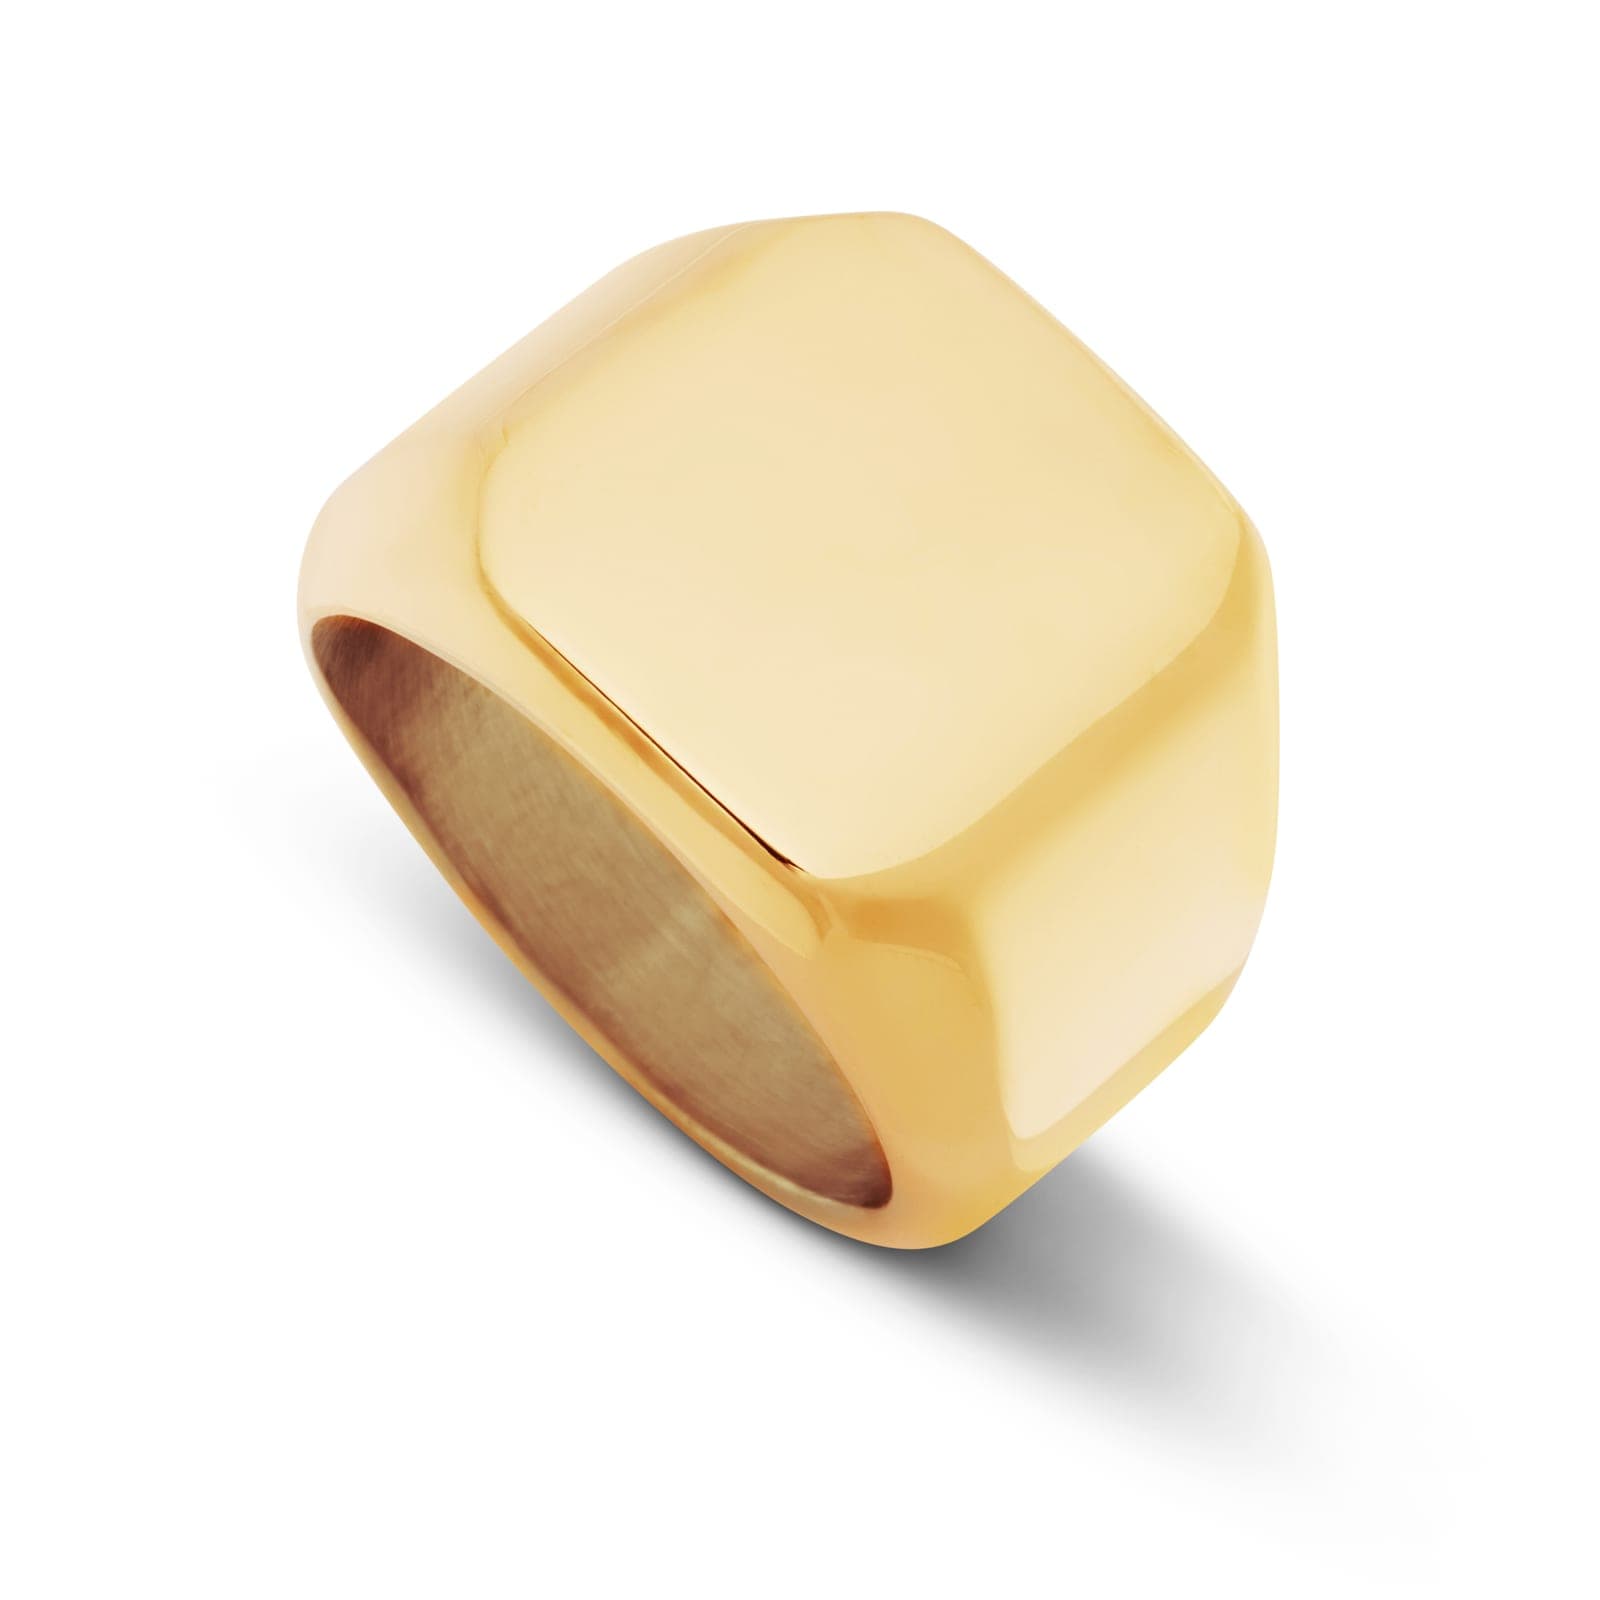
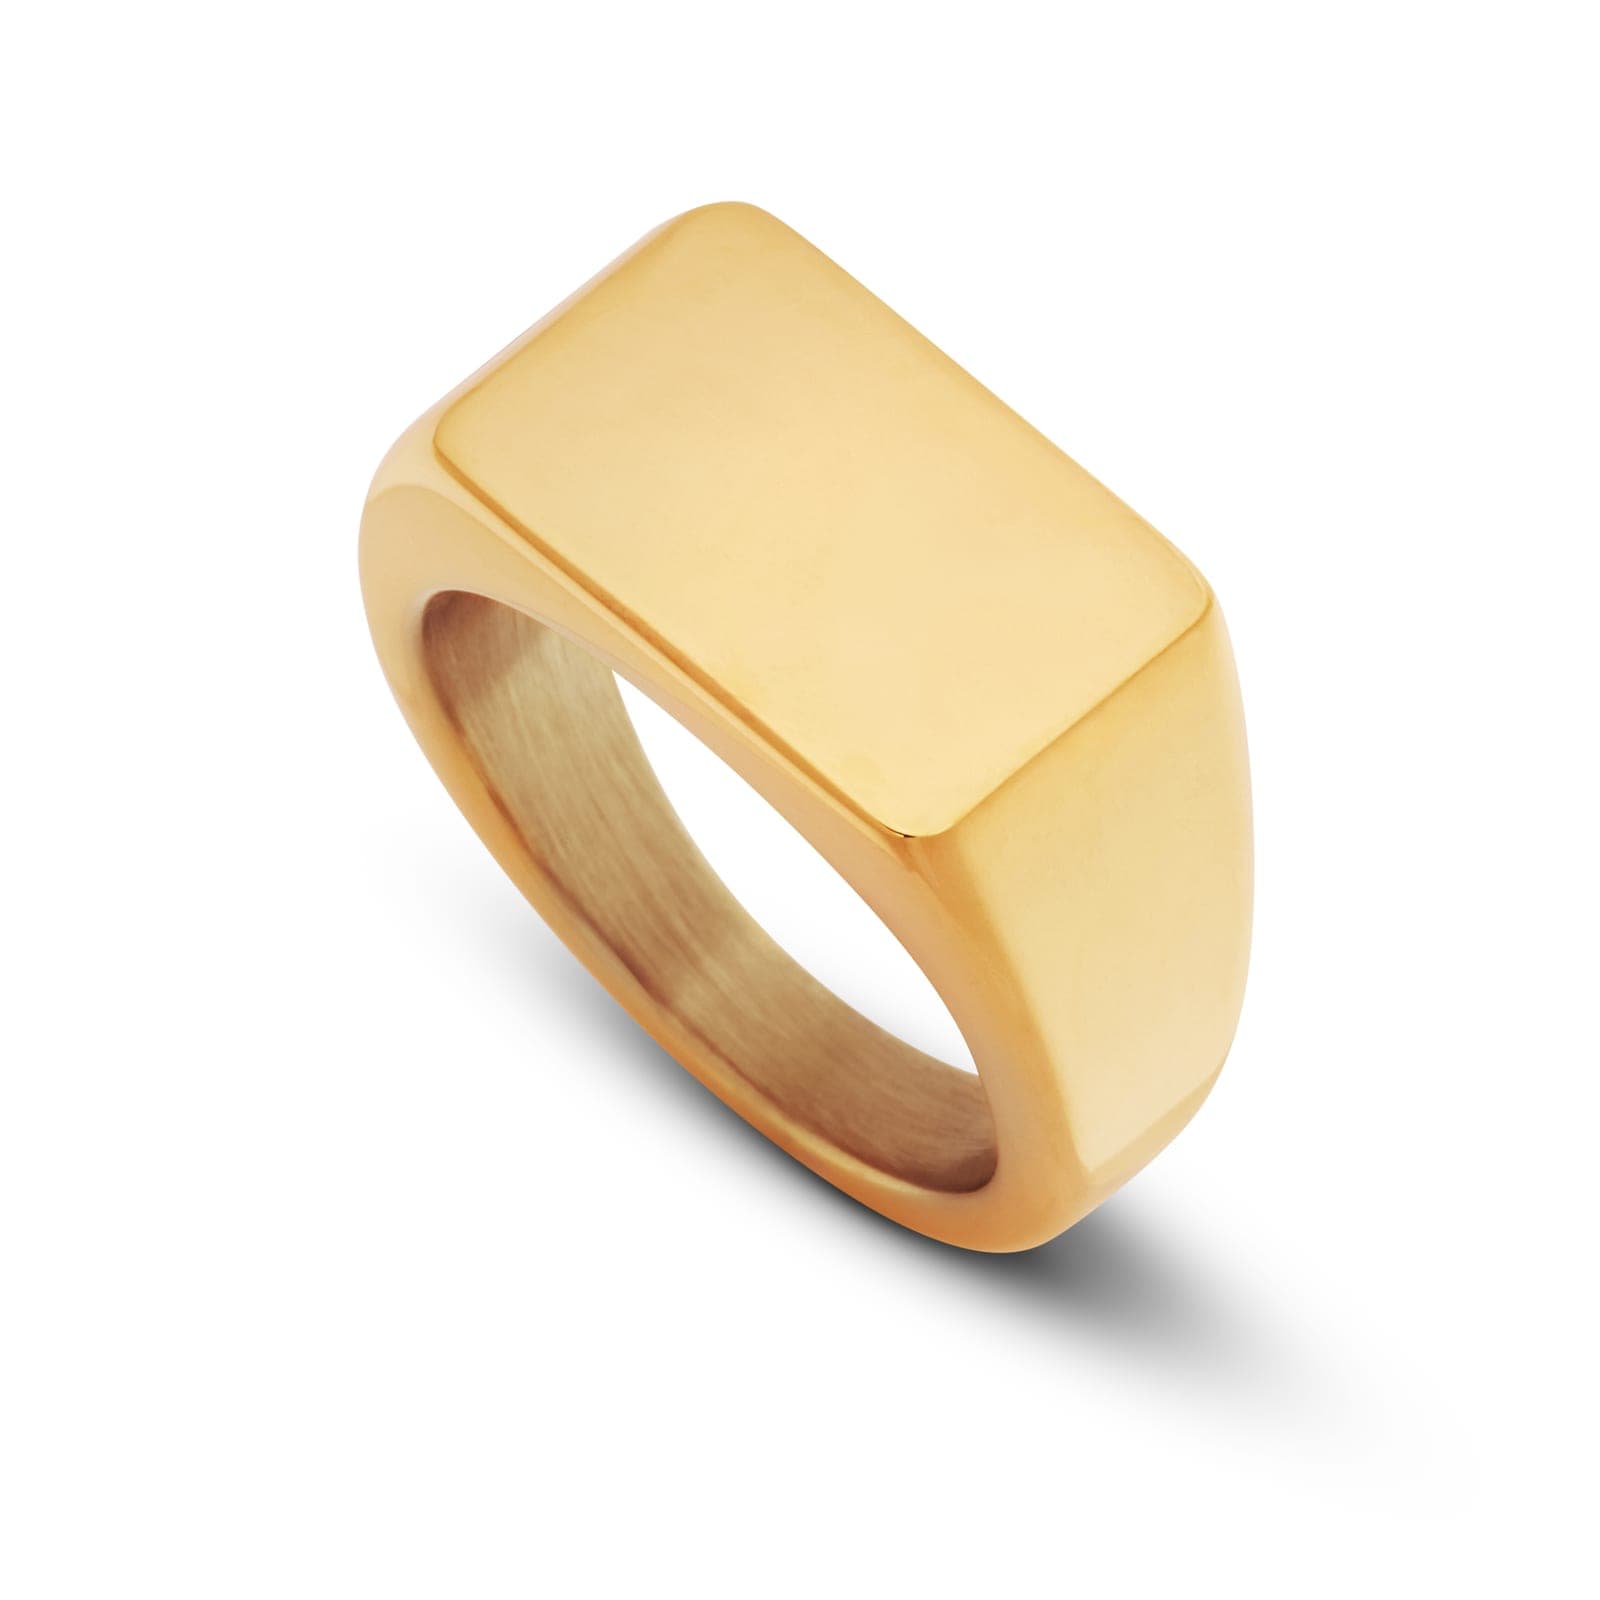
More in photo guides
Updated 29 September 2026